A WiFi repeater that is not installed correctly will prevent the signal from reaching its maximum range. Therefore, it is very important to know how to install a WiFi repeater correctly.
This article will inform you how to install a WiFi repeater to get maximum signal extension and overcome dead zones.
How to Install a WiFi Repeater
Installing a WiFi repeater correctly will help you get a wider internet connection, even in areas that were previously out of reach. Here's how to install a WiFi repeater:
1. Position determines performance
The first step to consider is determining the right position for installing the WiFi repeater. Make sure you install the repeater in an area that is not obstructed by any objects, such as walls, doors, or furniture.
Additionally, to maximize signal strength, it is important to install the repeater close to the main router signal source and near the area you want the WiFi signal to reach.
2. Connect to a power source
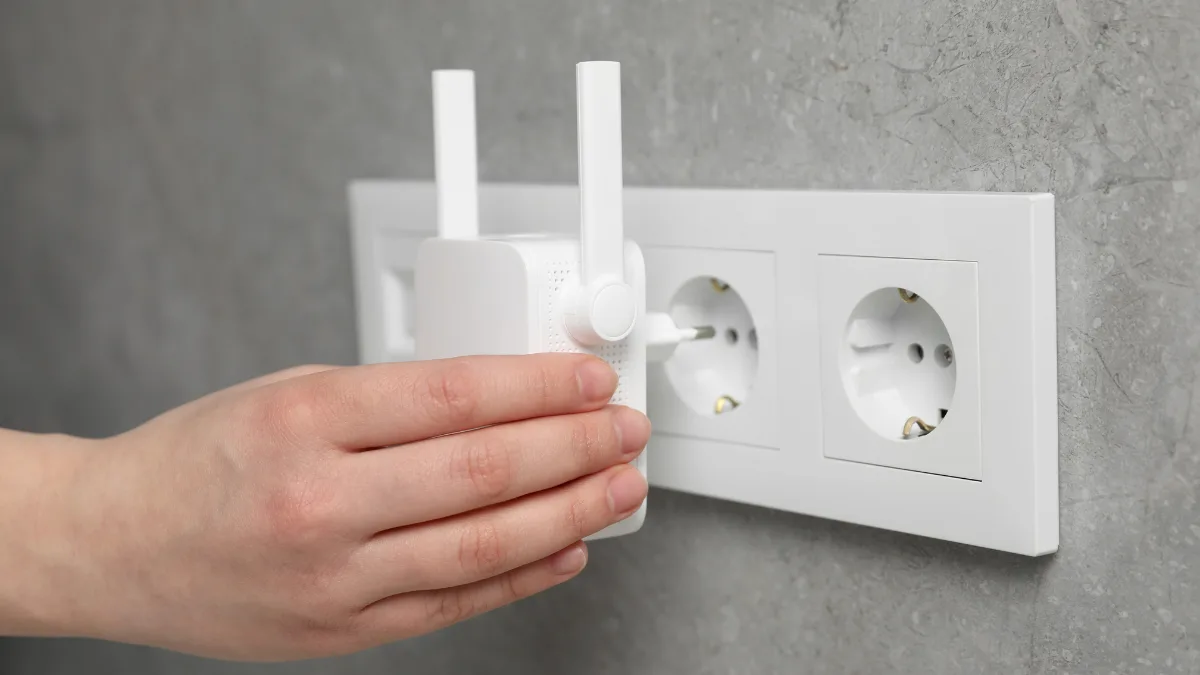
Once you have found the best location for the WiFi repeater, ensure the area has an electrical outlet for power. Plug the repeater into the outlet and wait for the indicator light to turn on.
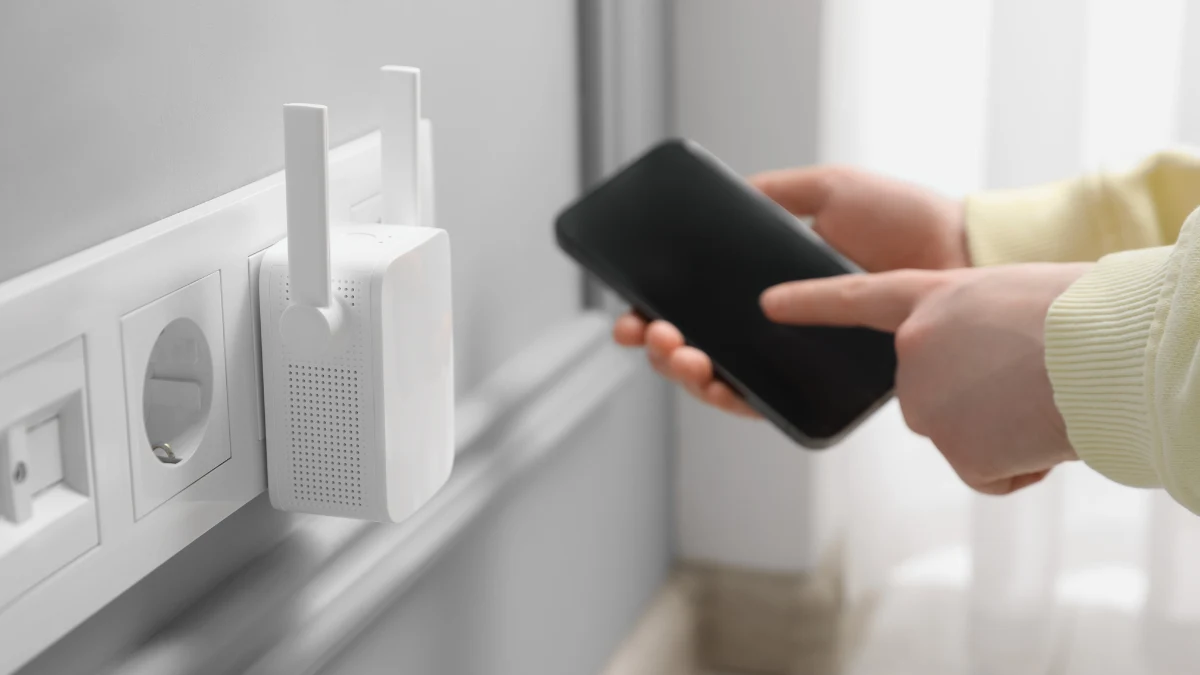
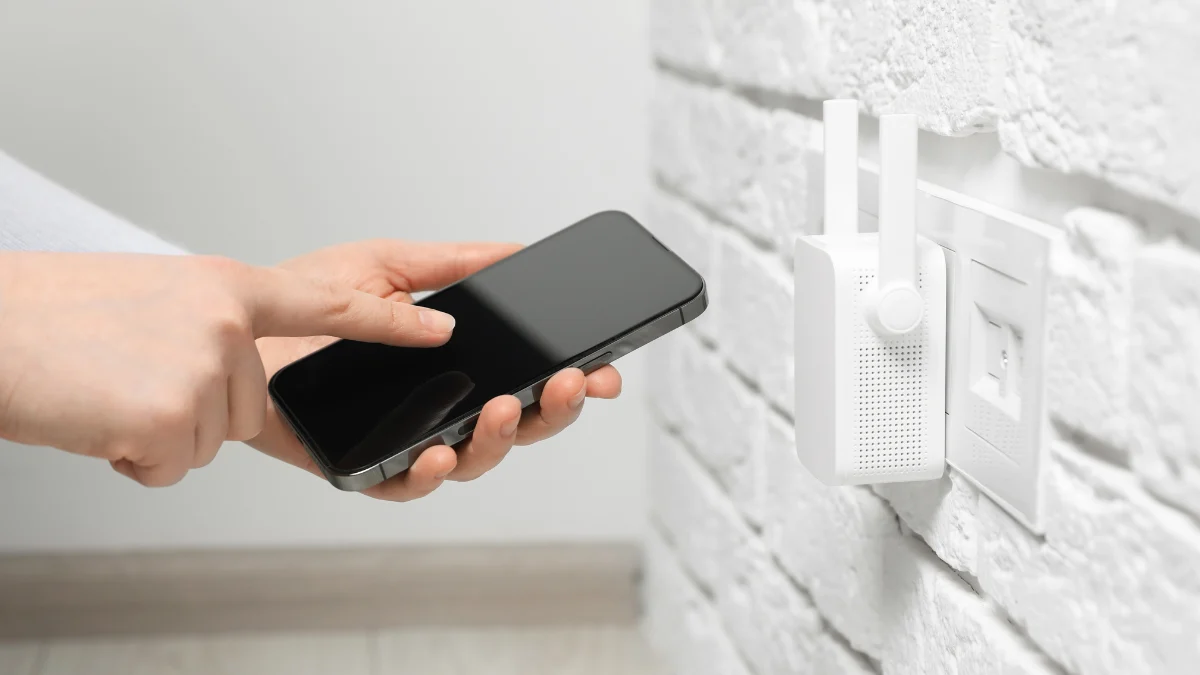
3. Connect to the main WiFi network
Once the WiFi router is turned on, you need to connect it to the main WiFi router network before you can use it. Connect the router via WiFi Protected Setup (WPS) or the settings page on your browser.
4. Configure the WiFi repeater settings

This is the step where you are asked to enter the repeater's IP address via your computer or laptop browser. The repeater's IP address is usually listed in the manual or on the purchase box. Follow the steps that appear to connect the repeater to your main WiFi network.
5. Connecting the network to the WiFi router
After configuration is complete, the final step before the device expands the WiFi signal network is to connect the network from the WiFi router. Select the same network as your WiFi SSID, usually with the addition of -EXT, for example Dimulti-EXT.
6. Test the WiFi connection
After connecting to the extended network, you can test the WiFi connectivity. Ensure that the network broadcast by the WiFi repeater supports strong and stable internet access.
What Causes a WiFi Repeater to Fail to Transmit the Signal?
There are several things to be aware of that can cause a WiFi repeater to fail to transmit signals to the area you want. Here are some things to keep in mind:
- The area is too large: The repeater is not powerful enough to cover such a large area.
- The repeater is too far from the router: Being too far from the signal source will result in suboptimal performance or even failure to connect.
- Obstructed by other objects: Objects such as walls, doors, or furniture can interfere with the connection.
- Network identification process failed: A failed login prevents the device from connecting to the signal emitted by the WiFi repeater.
- Not following the user manual: If any important steps in the user manual are skipped, it will cause the connection to fail.
That is how to install a WiFi repeater to get maximum signal extension, and the causes that can cause the signal to fail to transmit.
By knowing the correct installation method and avoiding causes of signal connection failure, you will be able to enjoy wider internet coverage at home or in your office. [UN]